Saturday, April 16, 2011

Away we go!


We're off to New Zealand! Our plane tickets claim we'll be back in two weeks, but I'm not counting on my ability to resist buying a house there and staying permanently. Have you ever looked at a guide book for New Zealand? I was alone with one for all of five minutes before I announced, "Honey, I think we need to be kiwis."

As I'm not an iPad owner or one who believes in toting laptops along on holidays, expect posting to be light to non-existent until I'm back. Assuming I come back. If I don't, I promise to find an internet source to share the goodness. In the meantime, go get yourself a guidebook.
I'll need nice new neighbors.

Thursday, April 14, 2011

Little zippered pouch

My big girl has her first-ever sleep away from home tomorrow (eek!). Her school hosts a sleep-over for kids who are transitioning up to the next age group. I'll drop her off at school as usual on Thursday morning but won't pick her up again until school ends on Friday. Moms who have been through this night advised against packing little notes or special somethings because they are reminders that the kids are away and usually induce homesickness rather than avert it (good point). Wanting to send a little piece of homemade love with her (though nothing too obvious), I sewed a little zippered pouch as a special place to pack her toothbrush and toothpaste.


This was my first attempt at sewing zips, and it was a great first project! Aussie Mum directed me to this tutorial, which she used to sew a pencil case for our wee girl's birthday in February. It calls for small squares of fabric to enclose the zip at each end. It was a fantastic tutorial, but I wanted to see what difference it would make not to have those squares. I found this excellent tutorial for the pouch I made. I ended up using a bit of both tutorials to fully understand what I was trying to do, but I got there with relative ease. Only by searching further tutorials did I finally find a missing snippet of wisdom: cut your fabric to length of the entire zipper. The width is up to you. My zipper was 20cm/8" with half an inch of fabric on either end (9" total), so I cut my outer and lining fabrics to 9"x6" rectangles. From there, it came together quite easily, and the lining makes it look much more challenging and professional than it really is.


I'm very happy with this little pouch, but more importantly, my girl is thrilled! I was (secretly) thrilled this morning when she chose to pack the pajamas I made for her a while ago (which she doesn't often wear). I'm so (secretly) nervous about her being away overnight, but I'd never let her know that. She's ready, she's excited, and she has a bit of homemade lovin' packed along with her to get her (me?) through the night.

Monday, April 11, 2011

Crimplene fabulous crafternoon

A few weeks ago, I received an email from a local fancy shop announcing a ladies' crafternoon tea with posh treats and Easter felt goodies to create. Price of attendance (not including materials): only $65...plus costs for a flight to and stay in Sydney. Apparently, the local fancy shop cannot find a fabulous enough venue in this state for their fabulous crafternoon and must shift to Sydney for the day. Aussie Mum and I shared a sigh and a giggle, and then we whipped up a crafternoon tea of our own at her home yesterday afternoon.


The projects were based on the work of this artist (who lives in Sydney, thus the venue we suppose), so the practical Aussie Mum simply borrowed the book from the library to get us going. She made bunny felt egg cozies for her brood (they'll go on yummy chocolate eggs Easter morning), and I stitched together some Easter bunny felt hairclips for my girls. I think I need to redo the backs because as they are the clip goes from top to bottom, which is opposite the direction needed to hold back hair (oops). We were joined by another of Aussie Mum's friends who is a fantastic hand-quilter. She worked on her gorgeous quilt and made us feel a bit silly...but I like a bit of silly in my weekend, don't you?

In the spirit of a ladies' afternoon tea, I dressed up in my latest vintage find: a 1960s mint-condition turquoise dress (tags still on!) with flamingo applique and made from Crimplene! The tag expounds the virtues of Crimplene, starting with the fact that it is "the new special knitted look in fashion and can be worn all the year round" and the luxury and practicality of suits and frocks that don't "seat". Well, hello! Why did they stop making this stuff?! (I am hoping it is not because it spontaneously combusts or something similarly interesting.)


It's entirely possible that I'm having way too much fun with this dress, but it makes me happy. I'm considering a search for a flamingo neck square and a custom name badge for Flamingo Airlines to complete the look.

Any Easter crafting up your sleeves?
I highly recommend hosting your own ladies crafternoon.
The more fun, the better.

Friday, April 8, 2011

The sand beneath my toes

I'm so glad I asked you not to hold me to great productivity, because my genius Monday and Tuesday gave way on Wednesday with the gritty feel of sand under my feet on my freshly-mopped floor. I worked like a madwoman all day Tuesday (all day! 6am-bedtime!), and first thing Wednesday morning, I walked through a little sandpile where my daughter had taken off her shoes from school and deposited part of the playground on the tiles.

Housekeeping with children in the home is like shoveling snow during a blizzard.
And it's about as rewarding.

I am sorry to say I was completely useless for the rest of the day. I kinda enjoyed it too. The breakfast dishes were still sitting around on the counter when Hubby came home. Oh, the shame. And oh, the spiral! By the time night fell, I had worked myself into a right funk about the pointlessness of my days, of how all the work I do doesn't matter to ANYONE, the children won't eat the food I cook SO WHY BOTHER, etc. (crazed look intensifying, volume increasing, Hubby's eyebrows raising...). Then, I scooted off to yoga despite my desire to curl up and sulk and had a full-blown attack of claustrophobia (complete with unstoppable tears) during an intense breathing exercise. Oh my.

Time to hit the reset button.

When this week started off, I thought it was high-time I try to do a project I've had on the back burner for over two years. It is called "A Week in the Life". During that week, I am meant to record everything, every little nitty-gritty detail about our days, what we do, where we go and who we see, what groceries we bought and how much they cost, what we ate, photograph it all, etc. Although our daily routine seems oh-so-routine now, it will be completely different in a year (or 5 or 10...), so it would be fun to have this record. If only I could commit to doing it.

On Monday, I gave it a serious go. By afternoon, my attention wandered and I fell off the wagon.

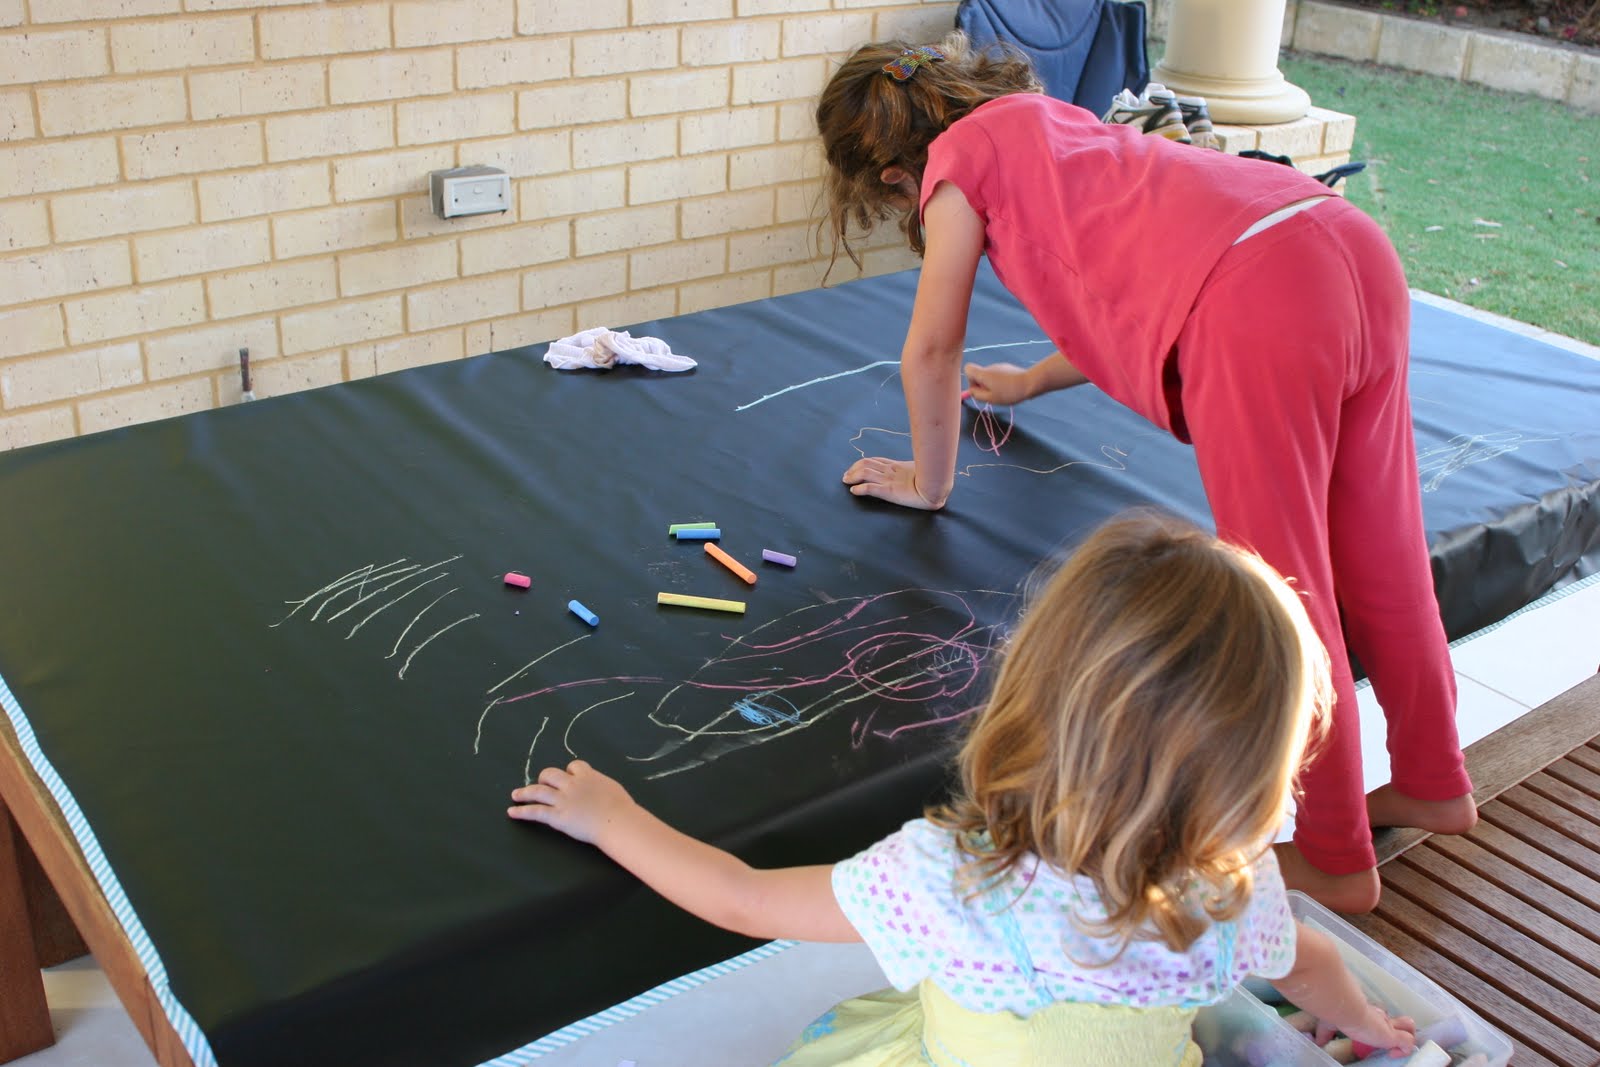
On Tuesday, I tried again, just as seriously. I did a fabulous job all day long! I cleaned, I baked, I sewed, I mothered like a pro (complete with art projects!), photographing all the while! Watch me go!

On Wednesday, well...did you know sand beneath your toes can cause you to trip and fall off a wagon with a resounding thud? Beware.

In retrospect, I'm sure this attempted project accounts for my impressive productivity. I was recording! Surely this is a "normal" week! I think now perhaps it was a bit too "normal" for me to handle. I went overboard (especially on Tuesday), throwing my week's worth of energy and enthusiasm into the first two days. I wasn't jotting notes; I was writing pages. Losing enthusiasm for my daily grind was inevitable because I was focusing so much on the grind, and I lost a healthy dose of perspective too.

Hubby managed to thwart a total meltdown on Wednesday night just as I was working myself up into a "everything is pointless" frenzy by pointing out that what I do everyday is under- or just un-appreciated because I am always here doing it. That is a gift. What I do everyday is the most important thing I can do. I am here for our family--yes doing the un-fun grind but also just here with my children and my husband, making the life as smooth as I can.

There is no value high enough for that, despite a tantrum or two, even when those tantrums are mine.

Tuesday, April 5, 2011

The World's Funnest Tablecloth

Another item off the want-to-do list! (Please do not hold me to this level of productivity.)
Remember this photo?


Last week at a très fabulous shop in town, I found some "chalkboard oilcloth". They had cut a meter and laid it across a table, setting it with chalk-drawn tableware. So fun! I knew my girls and I would have a blast with that. My big girl is learning to read, and I love the idea of writing little notes to her at mealtimes. I bought two meters for our exceptionally long table. I'd also recently seen this post on WREN handmade about making oilcloth perfect for the table, so I decided to follow her example and sew some bias binding along the edge. I spent so much time cleaning the kitchen and dining room today (too much time!) that it seemed fitting to finish it off with The World's Funnest Tablecloth (and if that name doesn't speak a five-year-old's approval, I don't know what does).


Incidentally, this tablecloth did a mighty fine job diverting mayhem during the Witching Hour this evening. Bless you, magic tablecloth.

Monday, April 4, 2011

Baby playmat

I finished a project from my want-to-do list! This is a simple baby playmat, inspired mostly by my friend Aussie Mum. I sewed a baby quilt for Puggle before he was born in a style similar to his brothers' quilts. I thought it might end up in the cot, but Aussie Mum is forever tossing it on the floor, on the grass, on the carpet...it is a playmat. I am thrilled it is so useful (and durable!), but I often wish I'd planned for that so I could have made it thicker for comfort. Then one day I spied some super-soft beautiful fabric at Materialise and I knew what I'd like to try.

This is very easy to make. I chose two fabrics and had them cut to square with the width (in this case, 110cm). I bought double the length of cotton wadding (220cm) and enough fabric to make a binding (probably around 40cm).

Wash and iron the fabrics first.

Lay one fabric right side down on the floor and smooth completely. Tape it to the floor using masking tape to hold it taut. Smooth both layers of wadding over it and then top the quilt sandwich with the other fabric right side up. Pin with quilting pins, starting from center and working toward edges. When quilt sandwich is secure, untape bottom layer from floor. You are ready to sew!

I wanted maximum loft, so minimum stitching. Simply sew two straight lines in an "x" from corner to corner to keep it from shifting around. (please excuse the fold lines in the photos; they're not along the sewn lines)


Attach binding using your preferred method. I thought I would use binding tape, but it was too thick and so this was hand-sewn.

Voila! Bright, cheerful and very functional! Aussie Mum gave it a sound stamp of approval. I think these would make fantastic baby gifts. I don't see them in shops, and I remember always putting a blanket down for baby, wishing it were bigger or thicker or something more than what it was. This playmat should be perfect for a sweet little one and a practical mum.

Friday, April 1, 2011

Polar opposites

To do list:


Want to do list:


Don't want to attack the to-do list.
Shouldn't skip along to the want-to-do list.
Guess I just take pictures instead... (thanks for the lenses, Alan!)
Have a great weekend!